Ceiling Fan Guide
Pairing Your Ceiling Fan and Remote
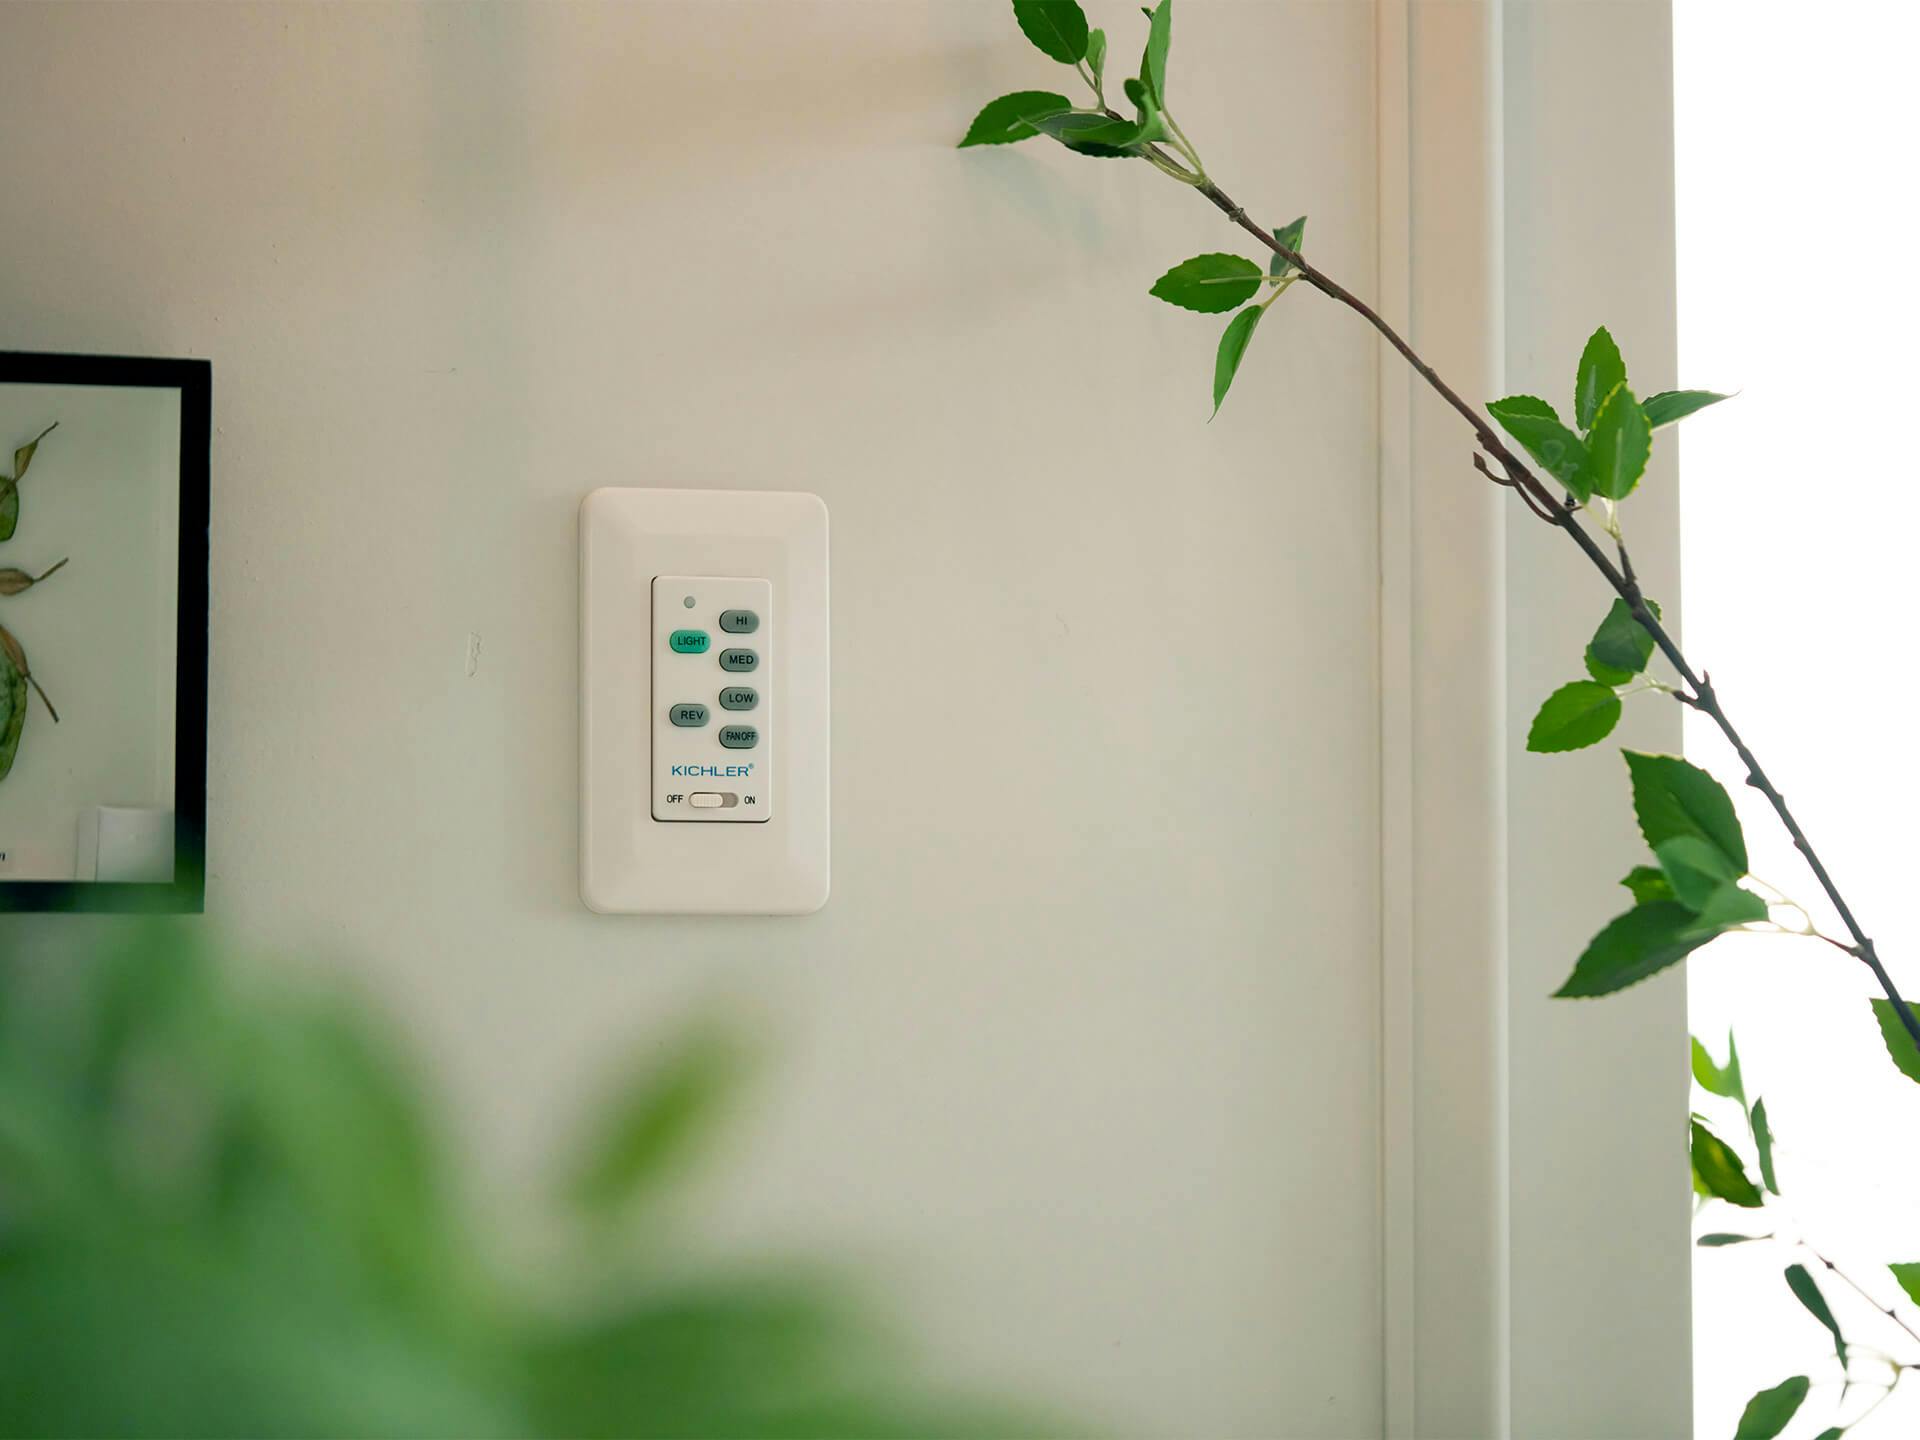
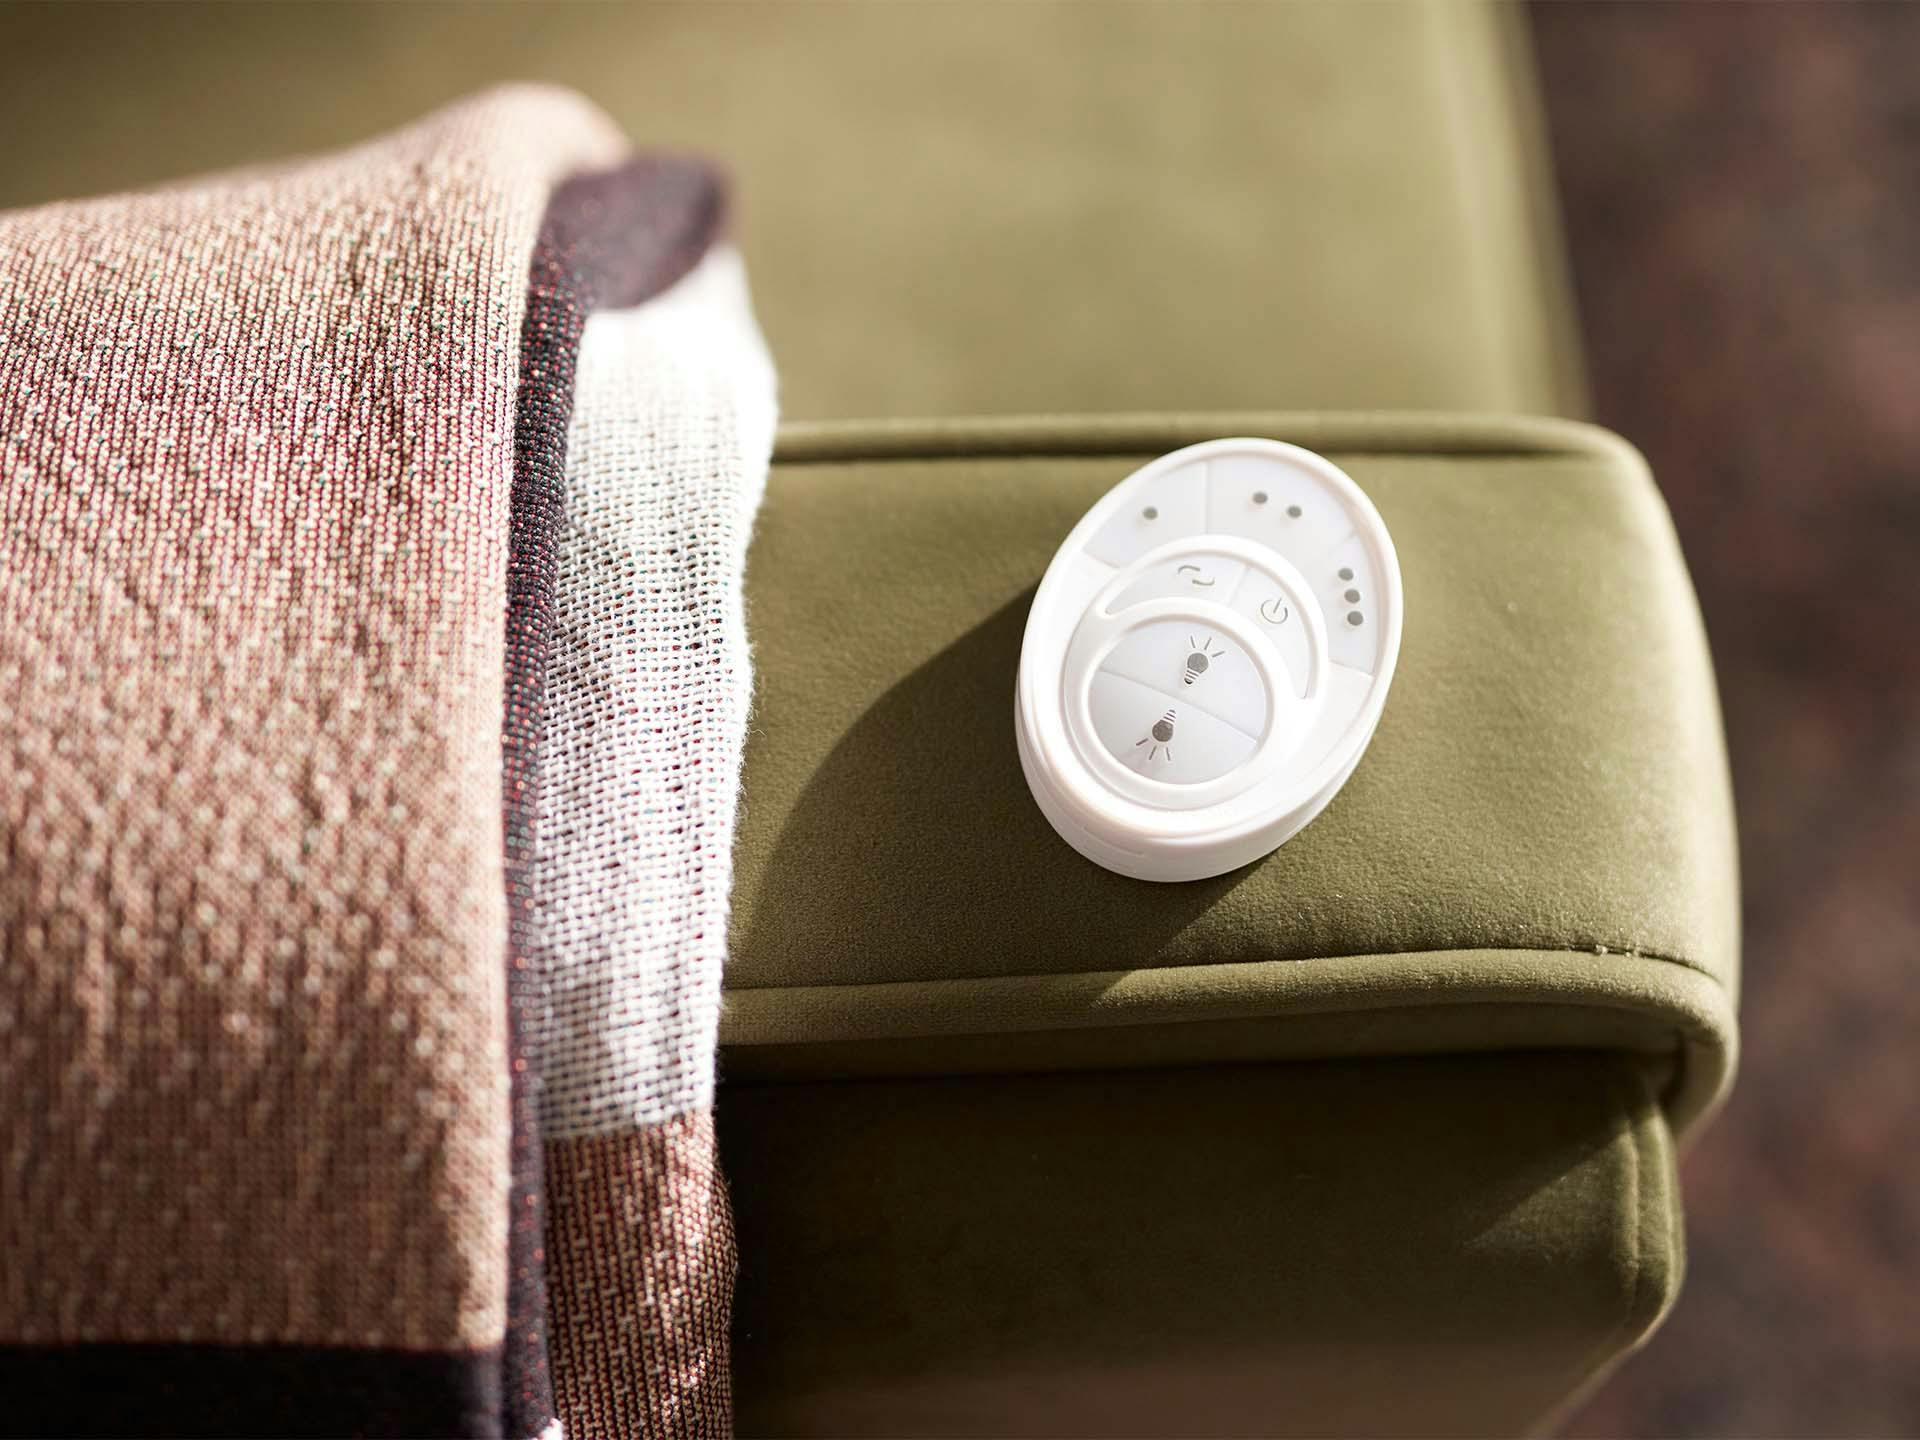
Your ceiling fan’s remote can be a lifesaver when it comes to changing your fan’s speed and direction. Make controlling your fan a breeze with a wall-mounted or hand-controlled remote.
DC Motor Ceiling Fan - Remote Pairing
Turn on power to your ceiling fan.
Press and hold the airflow direction button until the light kit blinks twice.
If there is no light kit, the fan should do a ¼ turn back and forth and then begin spinning.
Once the fan begins to spin, release the airflow direction button and let the fan go through the programming sequence.
The fan will come to a stop once the pairing process is complete.
Test the fan operation by pressing and holding the fan button.
AC Motor Ceiling Fan - 16 Frequency Remote Pairing
Turn off the power to the ceiling fan.
Set the dip switches on both the receiver and remote or wall control to the same mode.
Match dip switches in the back or front of the wall control to the same code as the receivers.
Turn the fan back on.
Test the operation of the fan by pressing and holding the fan button.
AC Motor Ceiling Fan - 65k Frequency Remote Pairing
Turn the power to the ceiling fan off for 60 seconds.
Restore power and return to the fan within 60 seconds.
Press and hold the ‘learn’ button inside of the remote for 5 seconds. After releasing the learn button, you can begin go test the connection between the remote and the fan.
To make sure you stay cool and comfortable, refer to your product installation guide for more detailed information about your specific fan. Have additional accessories?