Indoor Lighting Guide
Sconce Installation Guide
How to Install a Sconce
Let your home shine bright with stunning sconces that are designed to brilliantly light your way. But what’s the use of the beautiful sconce if it's just sitting in the box? Learn how to install a sconce so it can highlight the best parts of your life and home.
Quick tip before you start
Never attempt any work without shutting off the electricity at the main circuit breaker panel or main fuse box. Make sure it stays off until all the work is done.
Now, let’s get started
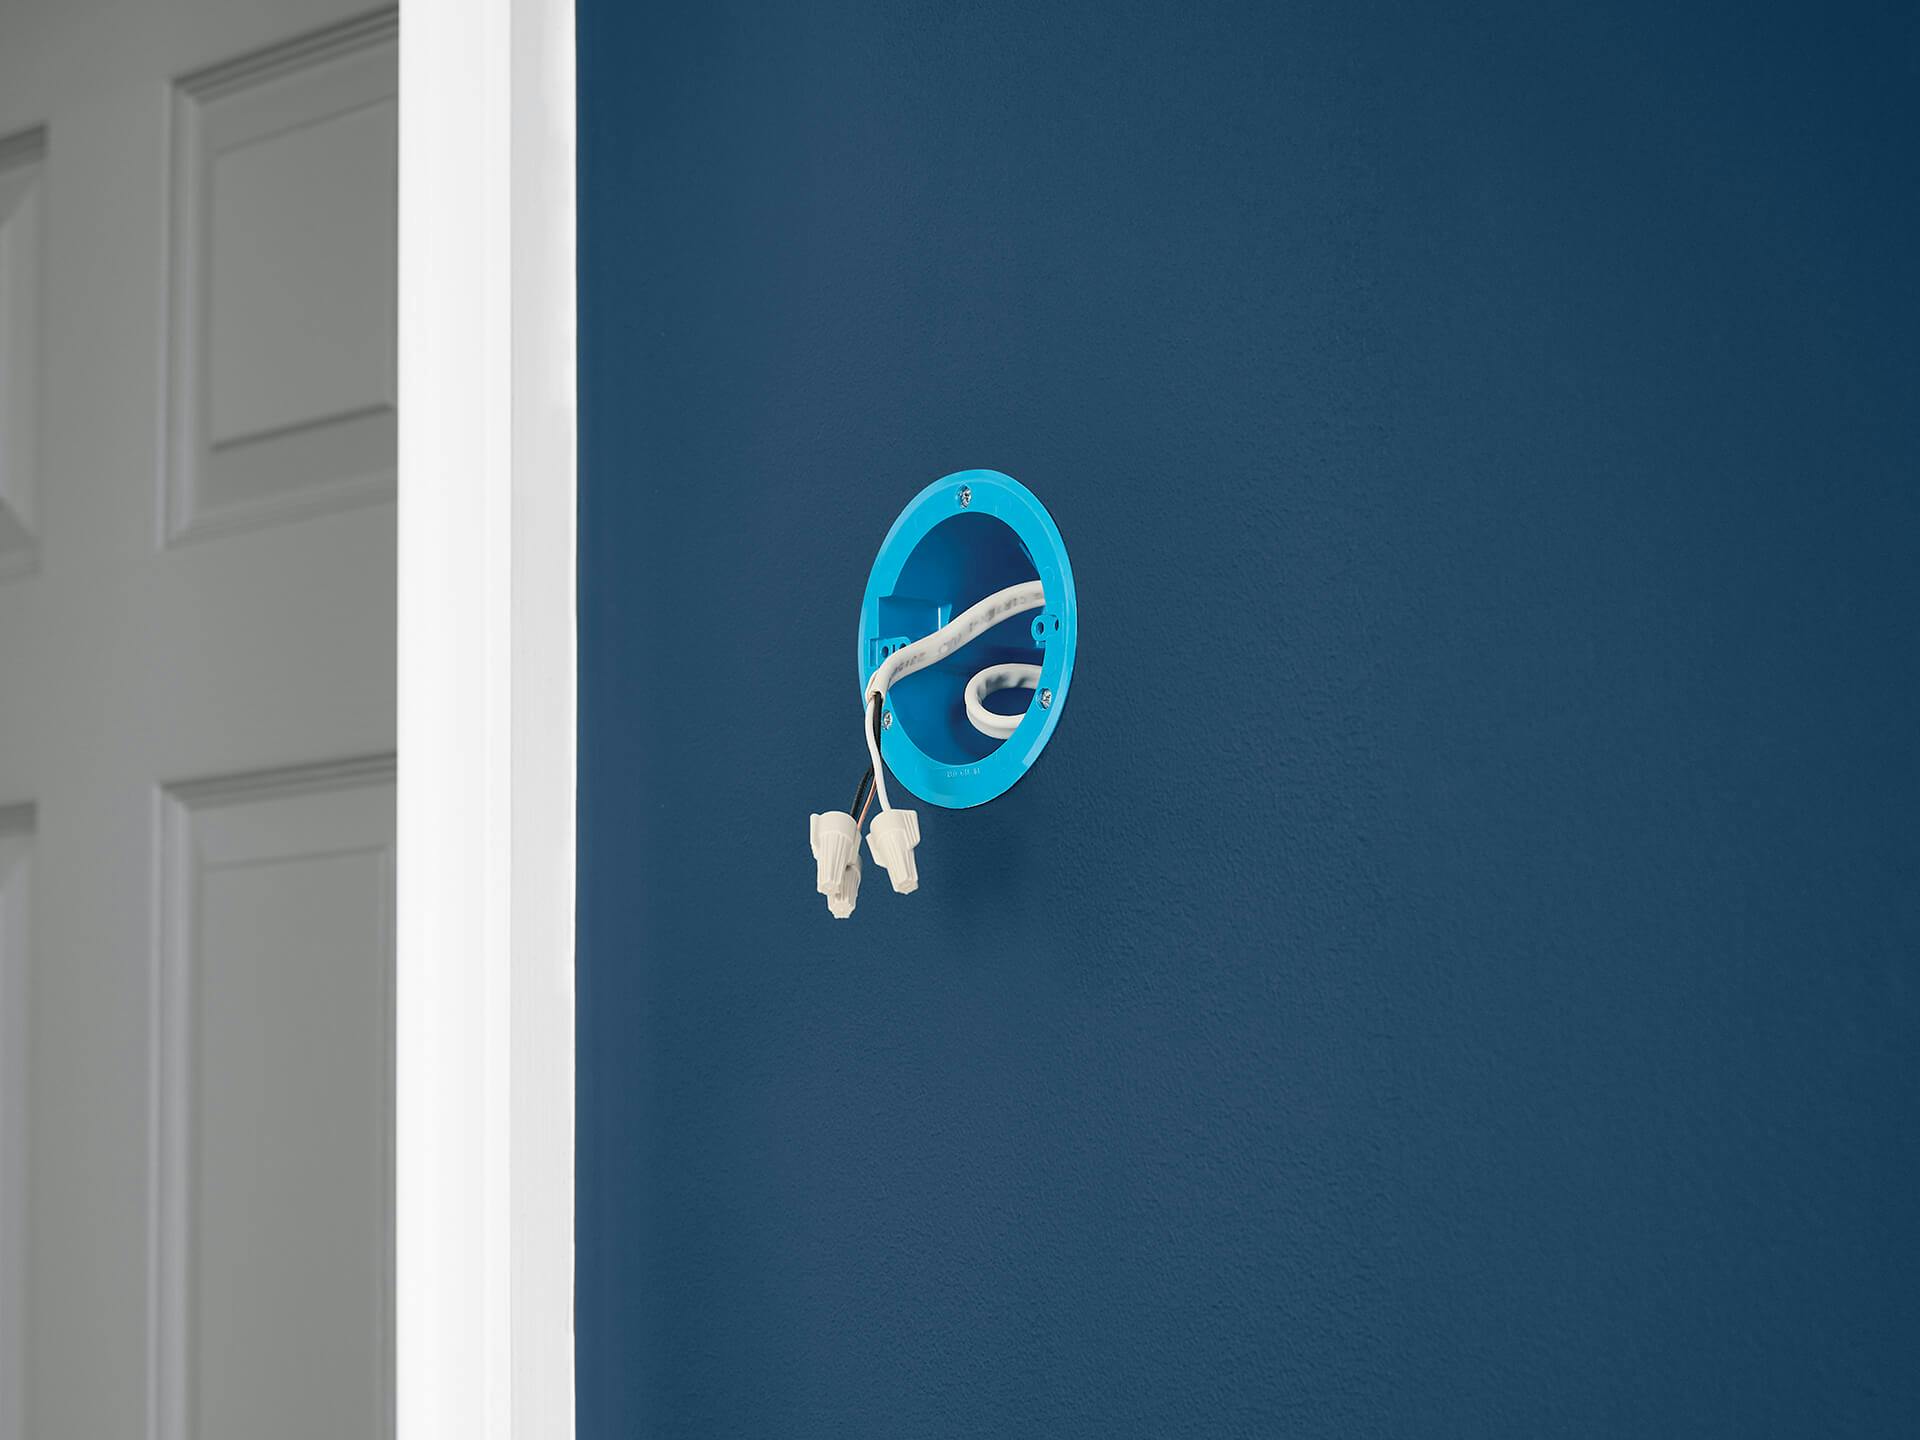
At the center of the back pan of your sconce, you’ll find slots that can be knocked out or pushed through. Remove the set that matches your exposed outlet box and attaches the pan to the outlet box.
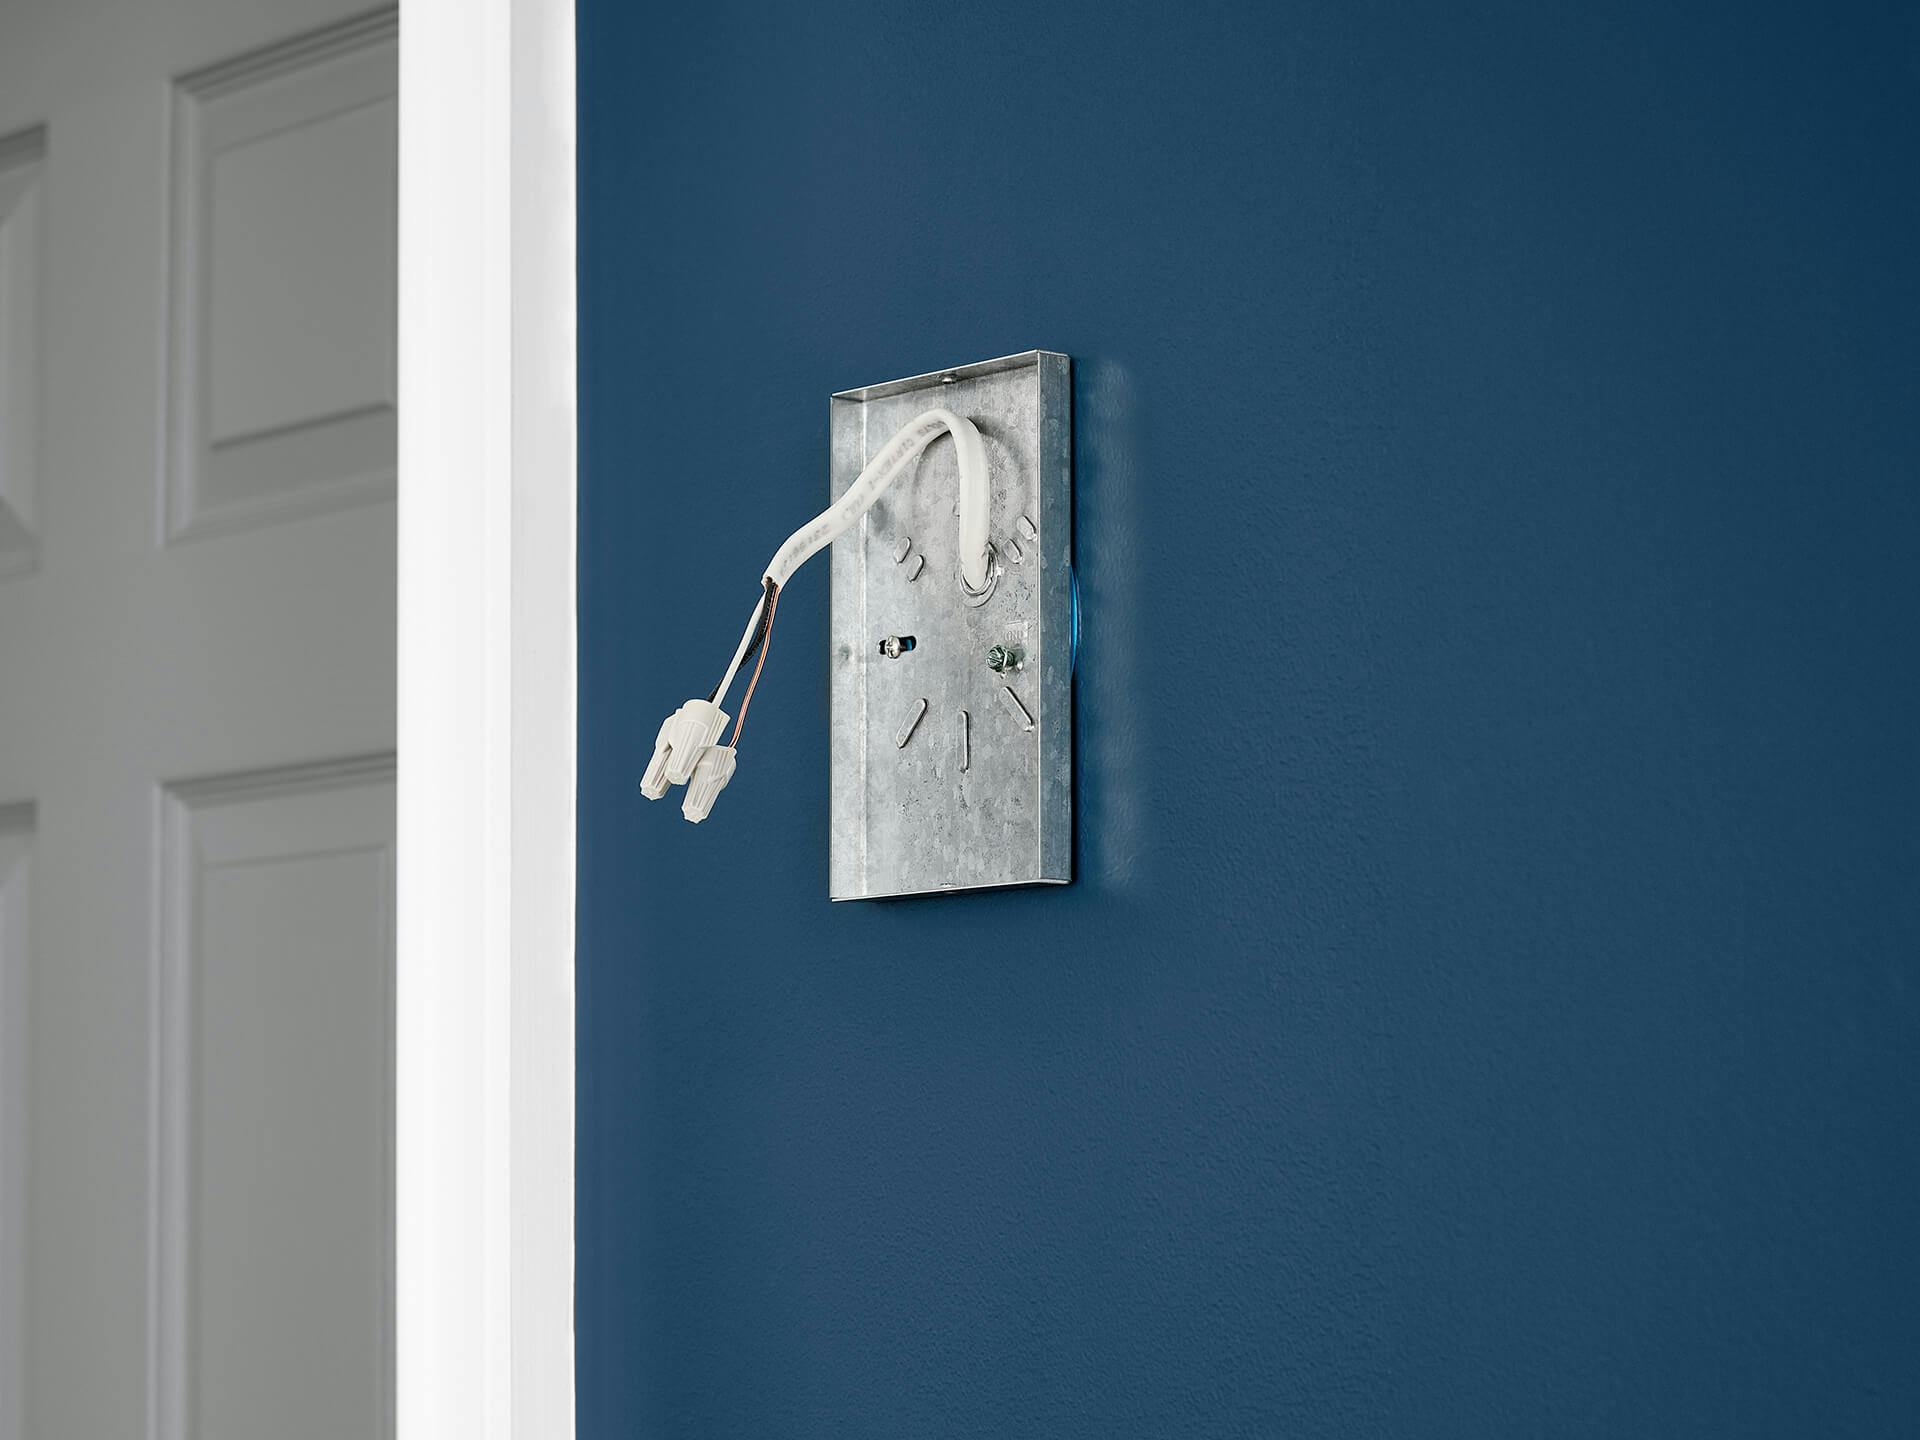
Ground the electrical wires using the appropriate instructions below.
Fixtures with a mounting strap and a hole with two raised dimples: Wrap ground wire from outlet box around the green ground screw and thread into the hole.
Fixtures where a cupped washer is provided: Attach ground wire from outlet box under the cupped washer and the green ground screw and thread into mounting strap.
After following the steps above, if the fixture comes with a ground wire, connect the ground wire to the outlet box. Never connect a ground wire to black or white power supply wires
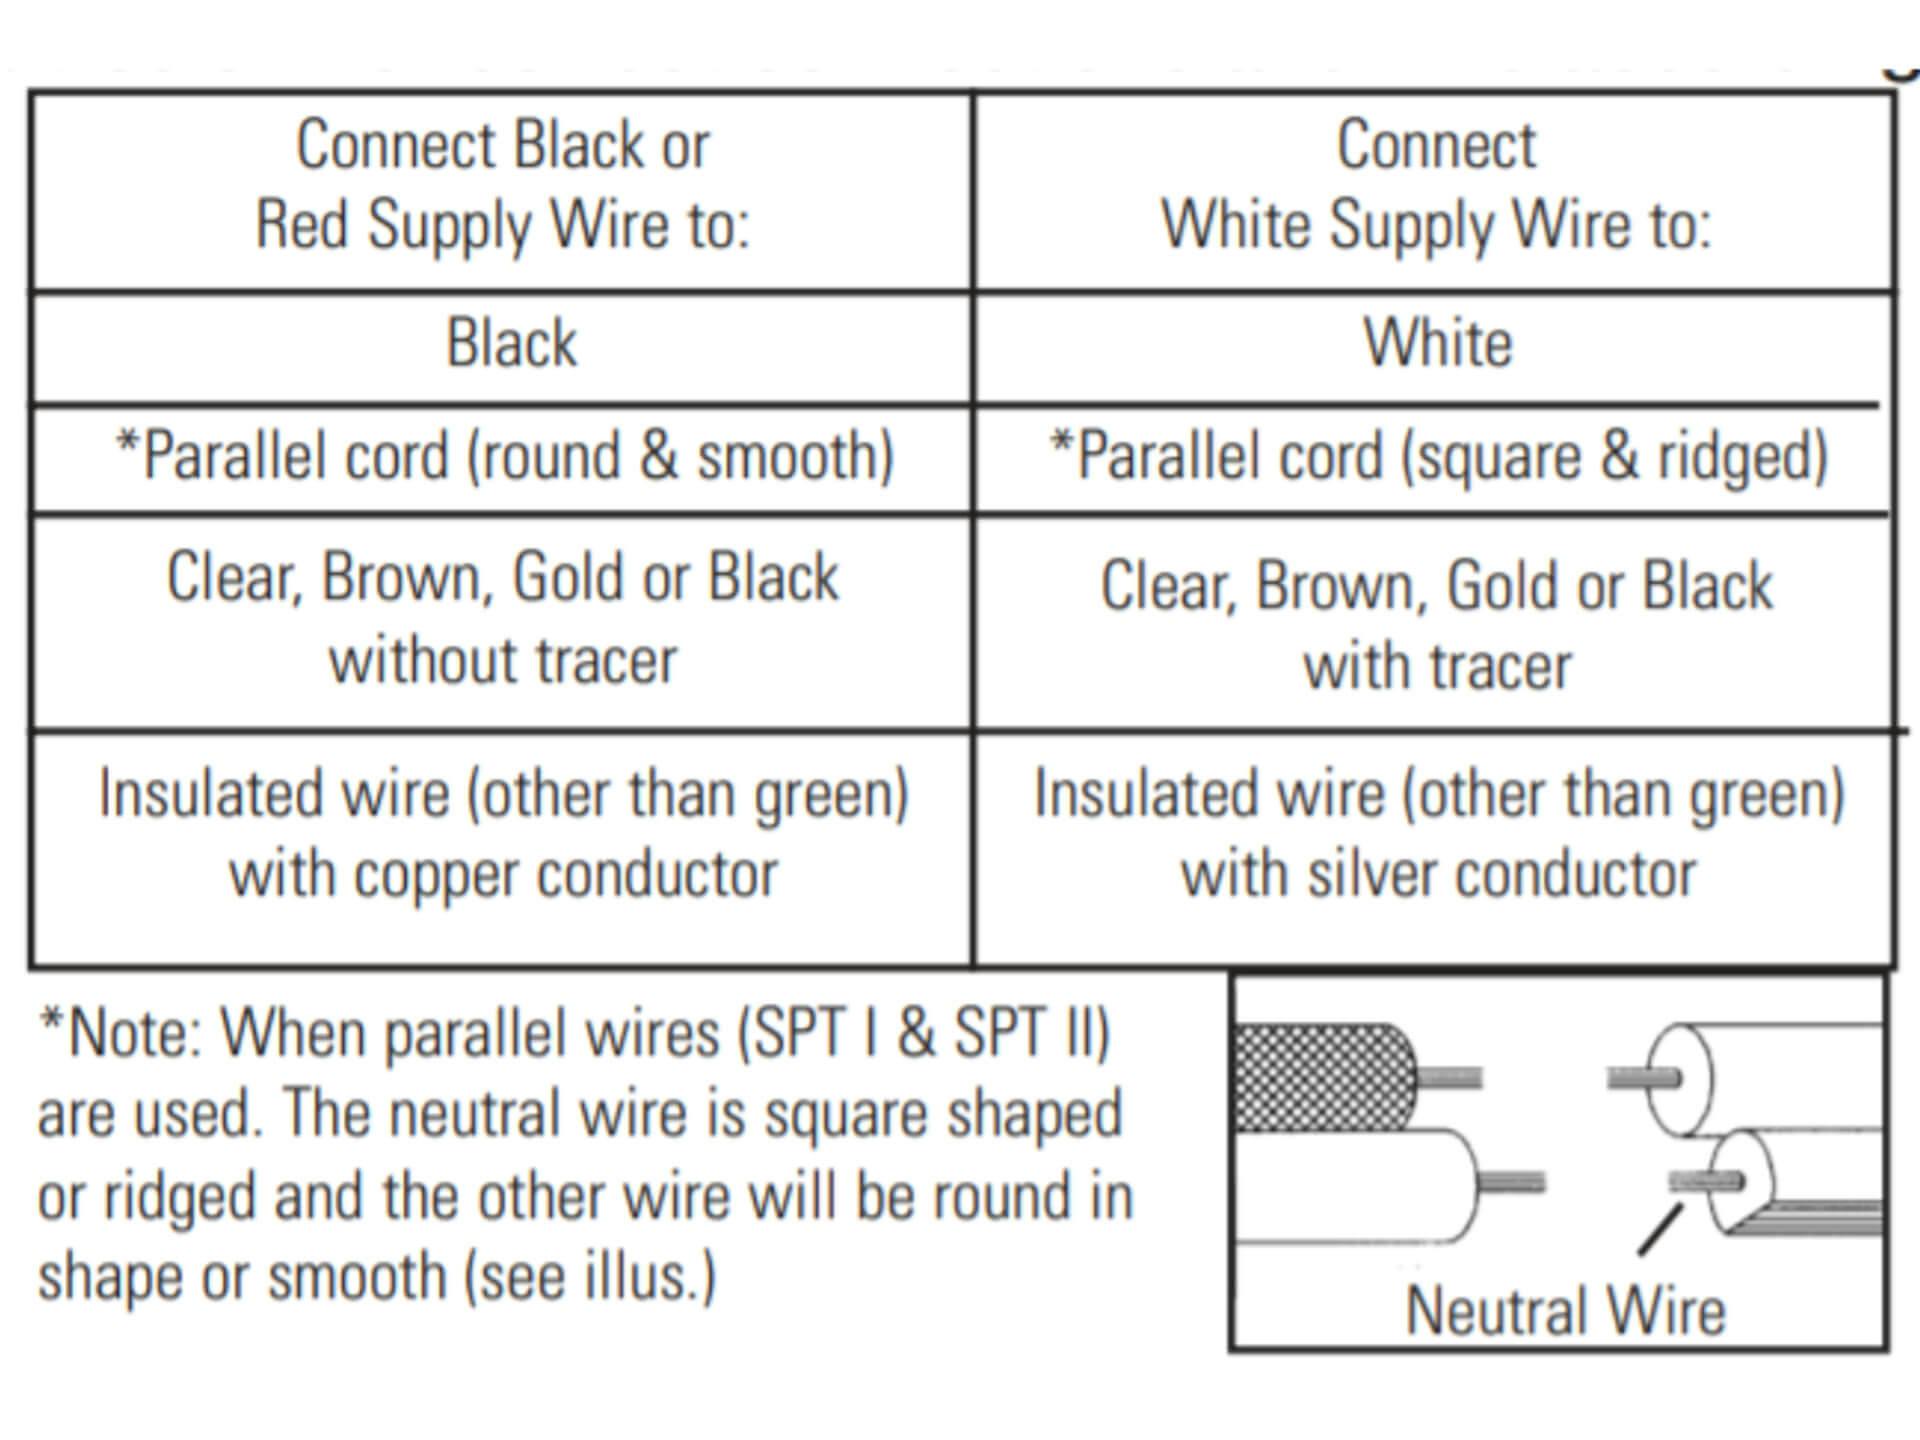
Make remaining wire connections (connectors not provided) See the chart below for correct connections and wire accordingly.
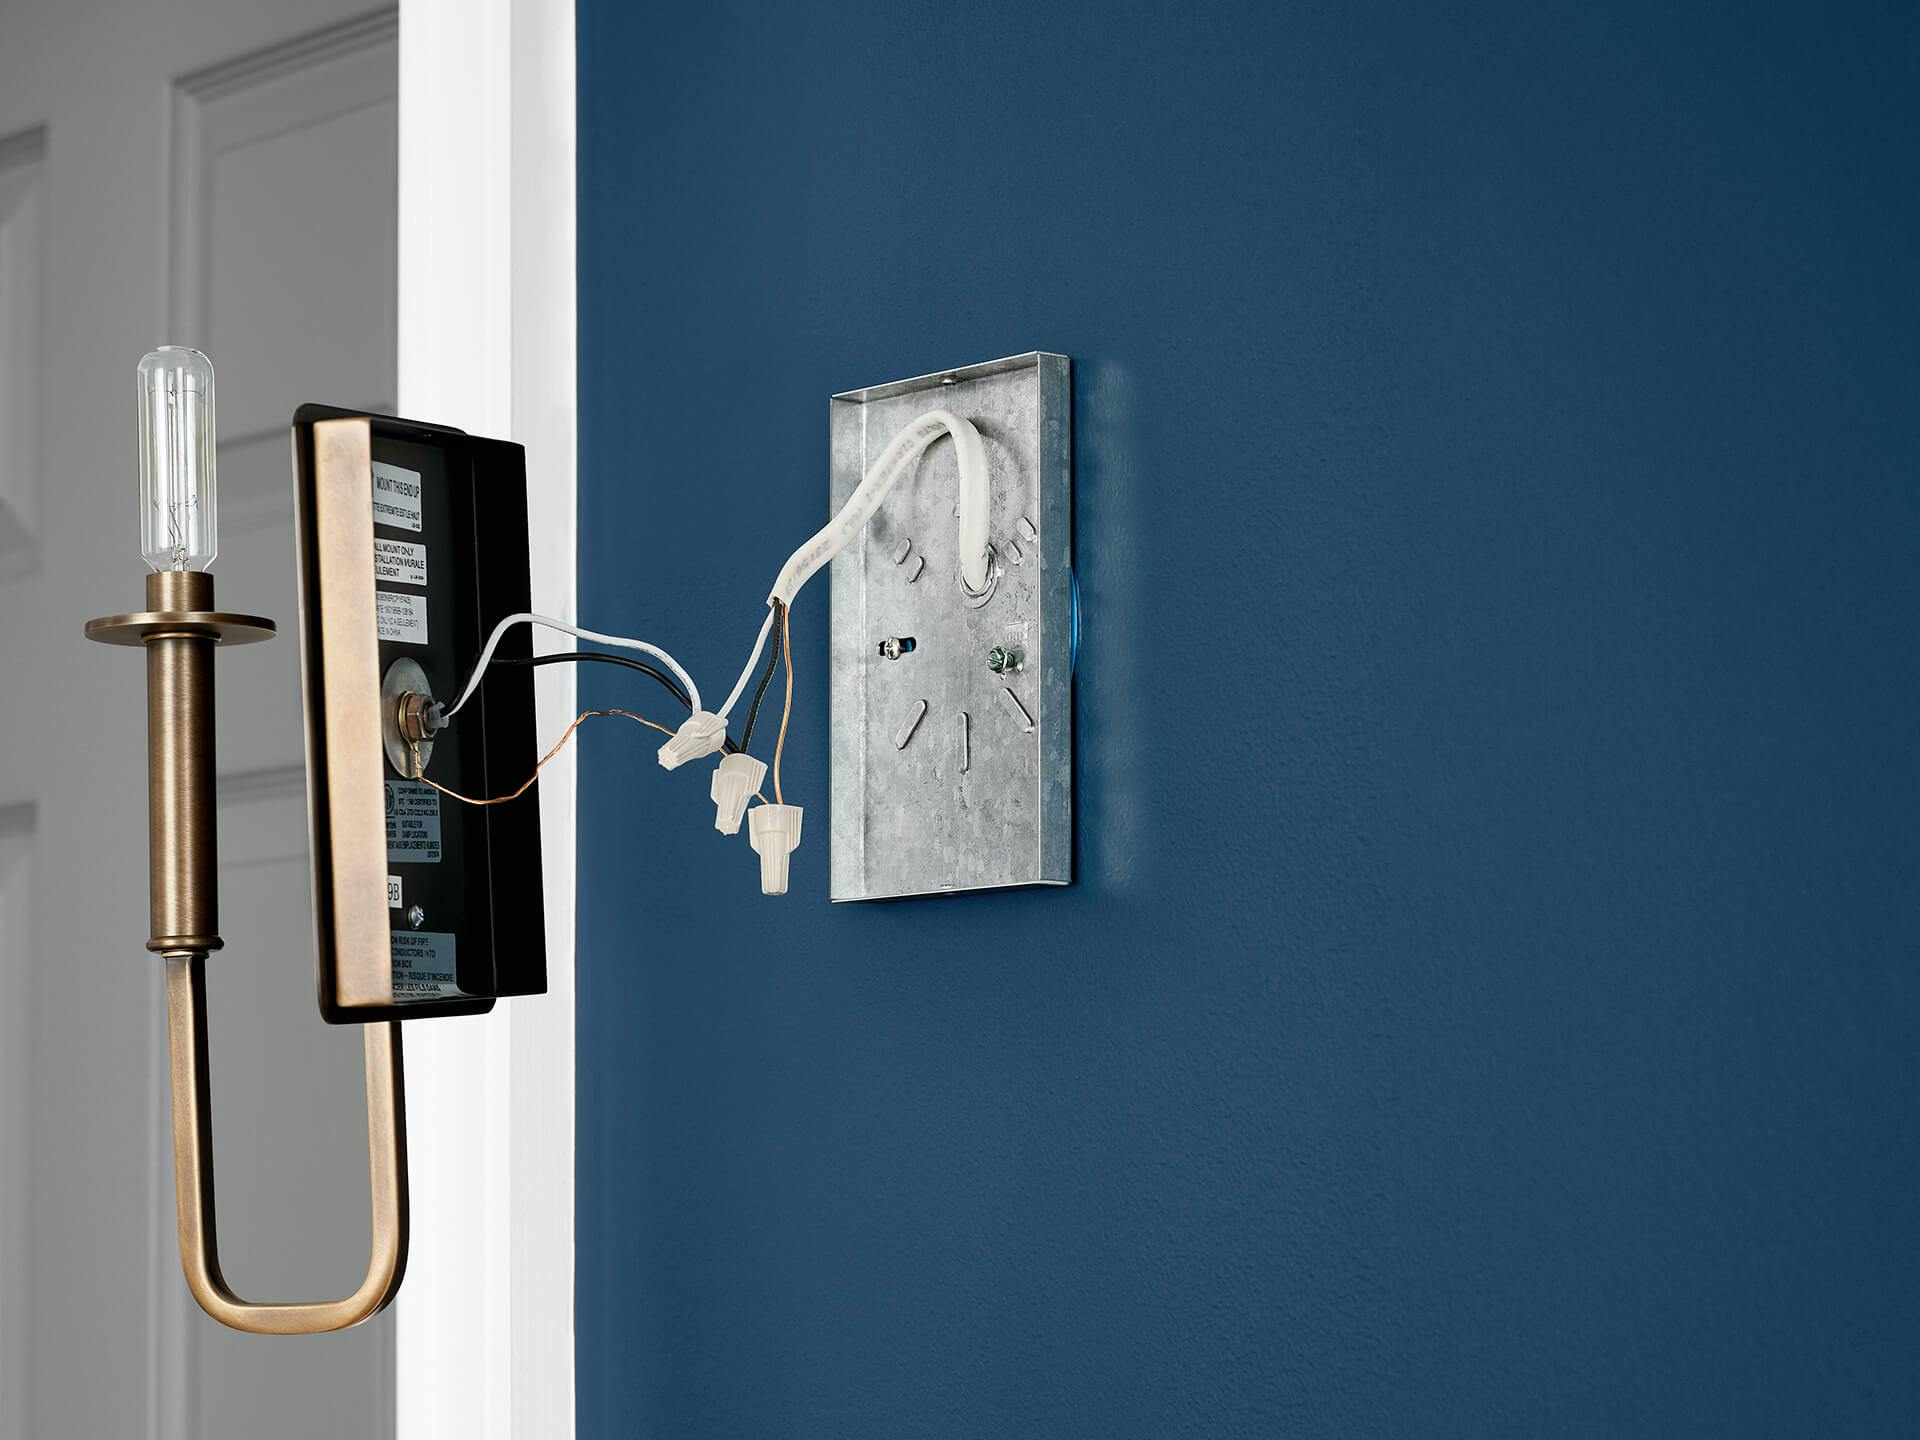
Once everything is wired, push the fixture towards the wall and align the holes on the top and bottom of the canopy. Make sure the holes are on the top and bottom edge of the back panel.
Thread the screws through the holes on the top and bottom of the canopy and into the holes on the back panel. Tighten screws to secure fixture in place. (It’s important to note that sconces vary slightly on assembly and mounting based on style of sconce.)
If applicable, lower or raise the shade (if one is included) down over the top of the candle cover.
And finally, the most important step of all is to enjoy the light and beauty your new sconces bring to your home.
Have a Pin Up Sconce?
Even easier to install than a hardwired sconce, pin up sconces simply plug into the wall. For versatility, pin up sconces can still be hardwired. While each one is slightly unique, see how easy it is with our Salema pin up sconce.
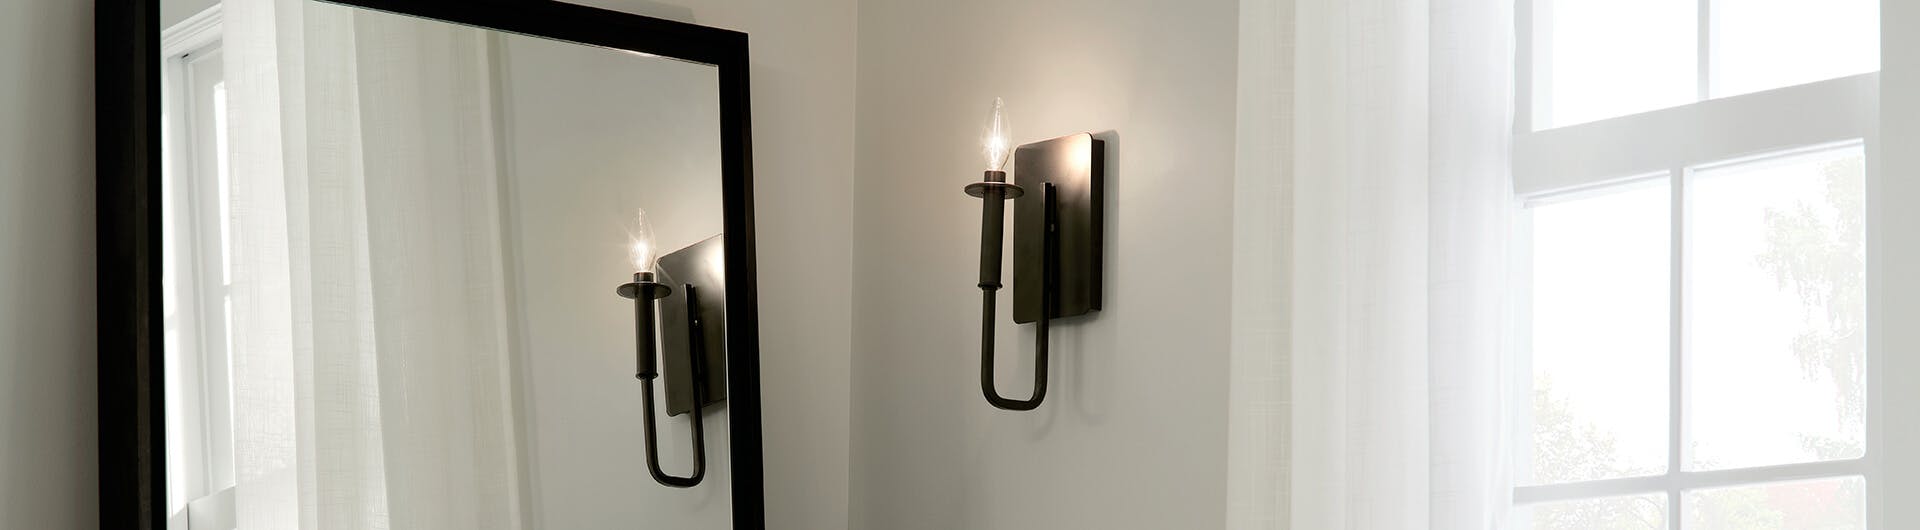
There are many places you can place a wall scone, such as on either side of a bookcase or framing a favorite piece of art. You can also install a wall sconce above a painting or sculpture to highlight the piece's unique features. Damp-rated wall sconces can also be installed on each side of a bathroom mirror, providing light from three different points in the bathroom. Wall sconces are also perfect in a hallway, we recommend placing wall sconces 6' - 8' apart